Step 2: The Dental Model
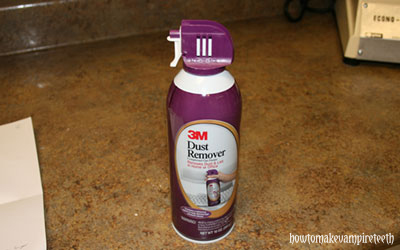
Before pouring stone, make sure any water or saliva pooling in the impression has been shaken out. Don’t dry out your impression material, but make sure there are no films of water on the impression surface. Sometimes we use a bottle of canned air to help blast any left over liquid out of there.
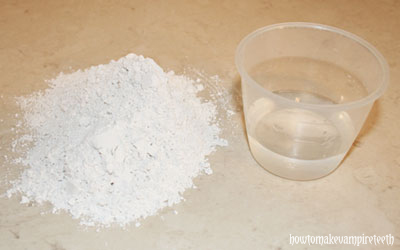
Make sure you’ve read over the instructions of your own particular casting material. Hopefully you’ve experimented with it a bit beforehand. In most cases, you’ll find that you need to add much less water to the stone than you did with the impression material. The product we used suggested one part water to three parts powder. Whatever the suggestion, you’ll want your mixture to be just runny enough that you can flow it down into your impression. Too runny and you’ll get a real soft and chalky model. Too thick and the material won’t reach the cusp tips of your teeth in the impression and you’ll end up with voids. Usually, you’ve got plenty of time to mix and pour the stone, but of course, read the product’s instructions to be sure.
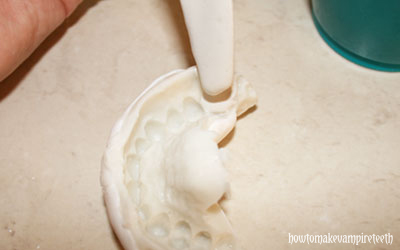
When you pour the stone into the impression of your teeth, start near the furthest back tooth. Tilt your impression so the stone runs into one tooth at a time. Watch to make sure it runs all the way to the bottom of the impression as it works its way from tooth to tooth. As we’ve mentioned already, if the mixture is too thick or if you plop a big glob of stone onto the impression material all at once, air bubbles will get caught in the deepest parts and leave voids in your model. It helps to tap the impression on the countertop and force the stone down into the impression. In the photos from a dental office that we showed earlier, you might have noticed a little contraption on the counter. That’s a vibrating device that helps the stone flow better when the impression is placed on it.  Do whatever you gotta do to get that stone in place properly.
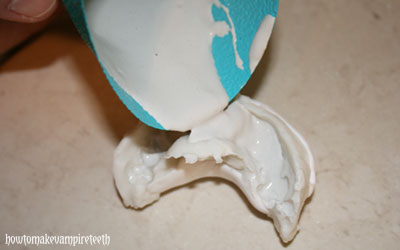
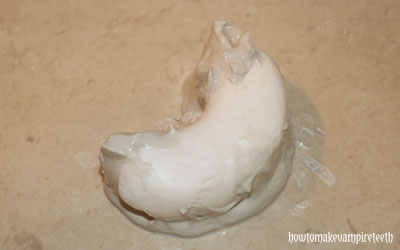
Prop your impression on a flat surface and let it sit for the designated amount of time – usually about 30 minutes to an hour.  After the stone is set enough that it won’t run all over the place, we usually flip it over so that the stone is resting on the countertop (stone can be tricky to clean up so be careful about which type of countertop you’re using – use a large ceramic tile if you’ve got one handy). This will give your model a nice flat underside and make it much easier to work with later.
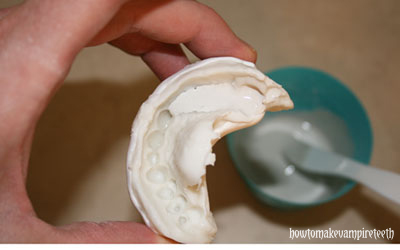
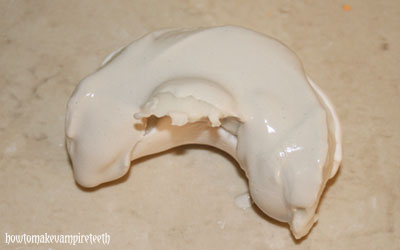
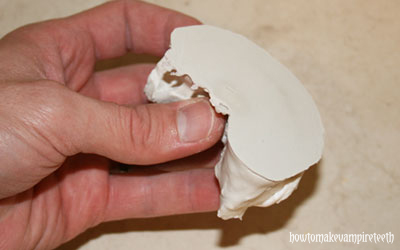
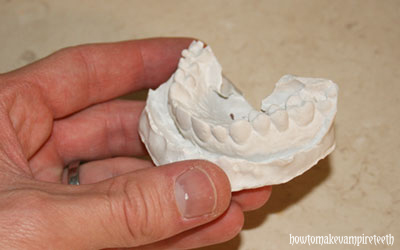
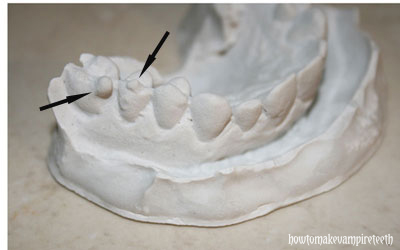
After the stone has set, gently remove the model and see how you did. You should have a beautiful set of teeth in your hand with a very detailed replication of your canines in particular. Make sure there are no major voids on those teeth and that the gum line is well defined.  Note the blobs of stone marked on the above picture. These were caused by bubbles in the impression.  If you’re not in a hurry, you might want to let your model sit until all the moisture has dried out which can take another hour or two. You can also blast it with a hair dryer if you need to move a little more quickly. Your cast will be extra hard once dried and easier to handle without damaging.
